How to deploy Kubeflow on AWS EKS

This article is aimed at anyone who is trying to install Kubeflow on AWS. If you have tried installing Kubeflow, then you might have come across several errors, and to finally get Kubeflow working on AWS cloud, it took me a couple of attempts.
Image by @clearmlapp
This article is being written mainly as a way to put together the tips and tricks that I learned during my first setups of Kubeflow so that I may go back and redo it if needed in the future.
Prerequisites
We will install Kubeflow v1.2 on AWS, and to configure it, the following services will be used.
We are going to deploy Kubeflow on AWS EKS, which is a managed Kubernetes service. We are using an EKS cluster v1.19 with 6 nodes. Every node is an EC2 instance of type t2.large.
IAM service roles
Create service role eks-cluster-role with policy AmazonEKSClusterPolicy and service role eks-node-role with policy AmazonEKSWorkerNodePolicy, AmazonEC2ContainerRegistryReadOnly and AmazonEKS_CNI_Policy.
Attach these roles to the EKS cluster, which will, in turn, assume the role to access other AWS services.
Cloud9 is a cloud-native IDE which runs on top of an EC2 instance and lets you write, run, and debug your code with just a browser. We will use Cloud9 to connect to the EKS cluster and to run commands for Kubeflow to install on EKS.
Deploy kubeflow
Step 1: Install eksctl
eksctl is a simple CLI tool for creating and managing clusters on EKS - Amazon's managed Kubernetes service for EC2.
Let’s install eksctl with below commands.

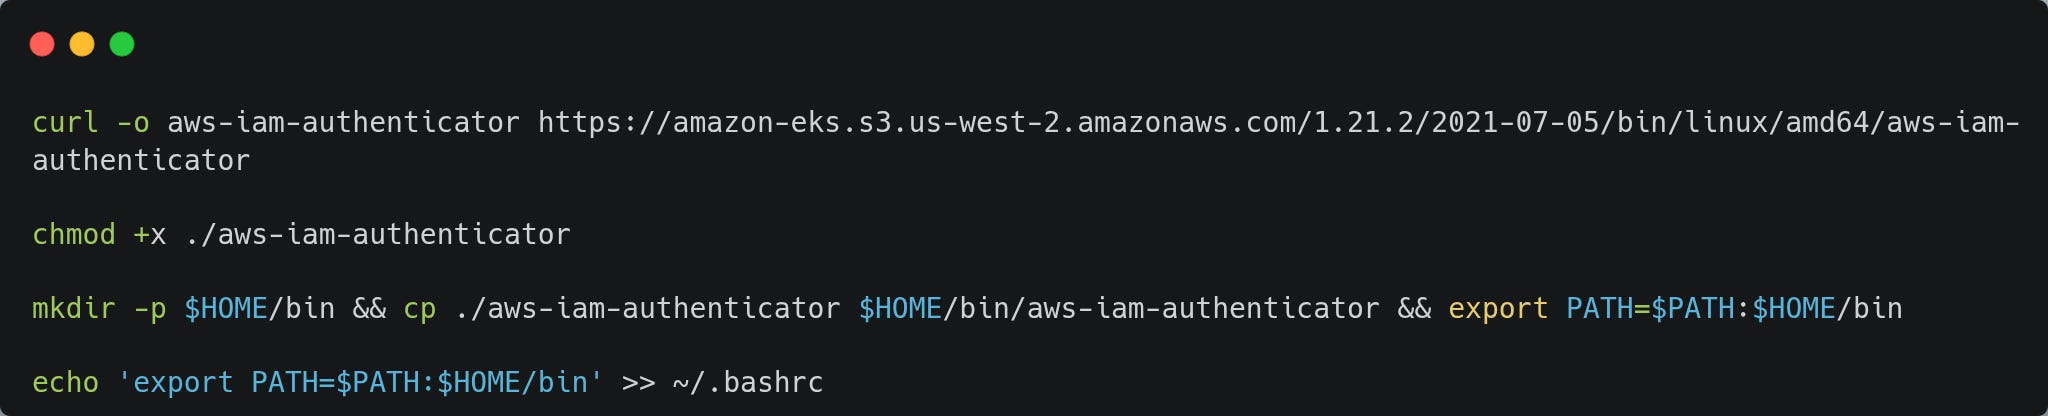
Step 2: Configure aws-iam-authenticator
aws-iam-authenticator is a tool to use AWS IAM credentials to authenticate to a Kubernetes cluster.
If you are building a Kubernetes installer on AWS, AWS IAM Authenticator for Kubernetes can simplify your bootstrap process. You won't need to somehow smuggle your initial admin credentials securely out of your newly installed cluster. Instead, you can create a dedicated KubernetesAdmin role at cluster provisioning time and set up Authenticator to allow cluster administrator logins.
To avoid having to manage a separate credential for Kubernetes access, we will use aws-iam-authenticator.
Step 3: Install kfctl
kfctl is the control plane for deploying and managing Kubeflow.
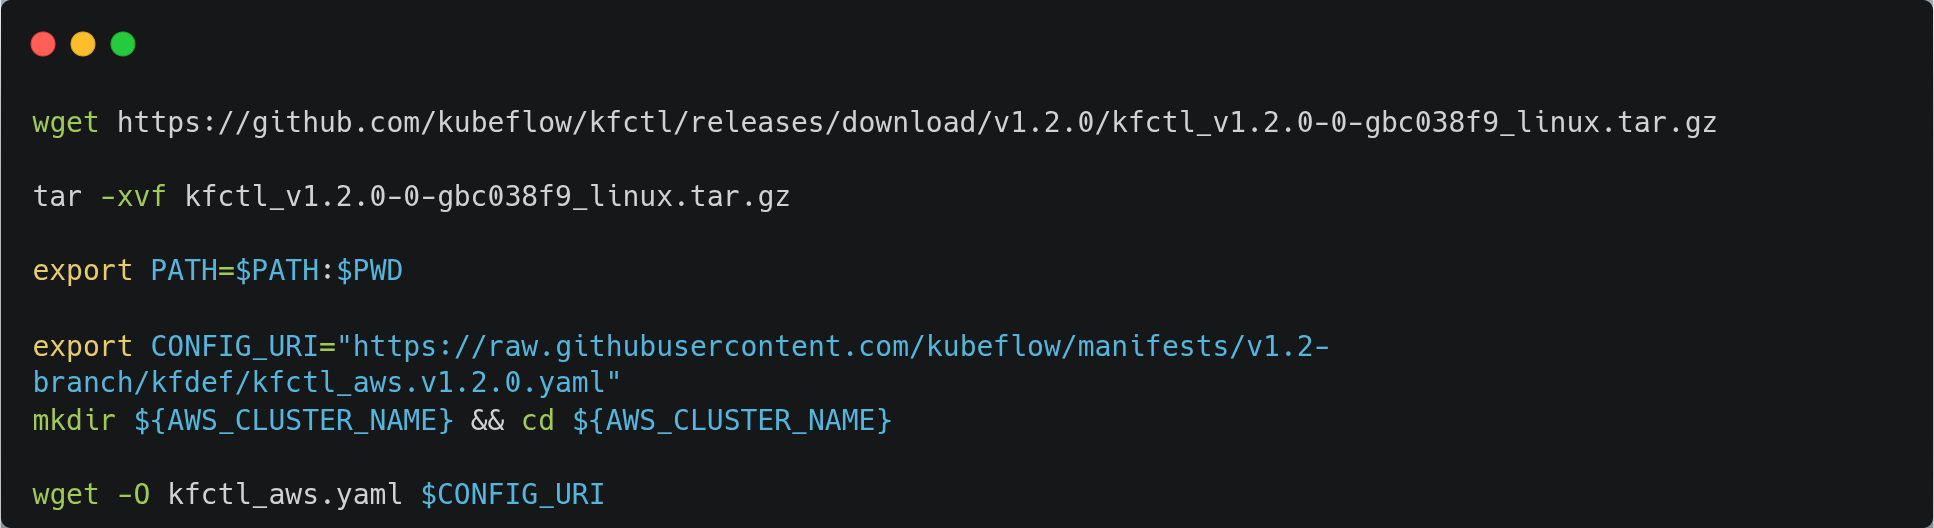
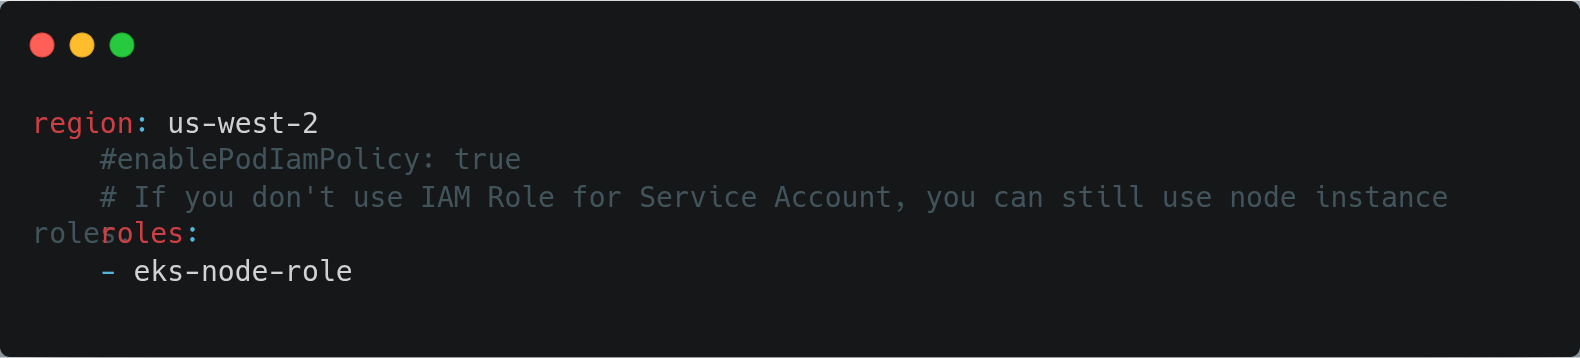
Now, let’s update the role we have created in the kfctl configuration.
Step 4: Build Kubeflow
Now, we will build Kubeflow with the following command.

You can monitor all the resources created by KubeFlow with the following command.

Access the Kubeflow central dashboard
Run the following command to get your Kubeflow service’s endpoint hostname and copy the link in the browser.

This deployment may take 3-5 minutes to become ready. Once complete, you can verify the installation by opening the ingress address in your preferred browser.
To expose Kubeflow with a LoadBalancer Service, just change the type of the istio-ingressgateway Service to LoadBalancer.

Endnotes
Congratulations on your successful deployment of Kubeflow on AWS. As the Kubeflow team releases new versions rapidly, the steps written here might change. There are other ways to deploy Kubeflow on AWS and other platforms; you can refer to the Kubeflow docs for more details.
Thank you for reading..! 🙏